Every once in a while I get one of those "I wonder if I could...?" ideas. This one was a "I wonder if I could make a mascot head? That might be a good Winter Break project to do with my daughter." Of course it took until Spring Break for us to actually finish it.
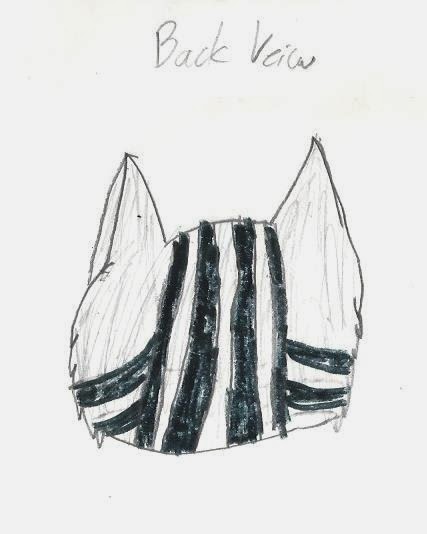
My daughter loves the Warrior Cats book series, and so she wanted to make a Warrior Cat avatar she had made up for herself. I told her to draw it from all angles so we would know what the head should look like. So these are the concept sketches she made.
We watched a bunch of YouTube tutorials. And then we went shopping for materials.
Eyes are made from a stiff fabric needlepoint mesh with fabric marker for the pupils and irises. Next we put a band of craft foam around them to give them dimension.
She was very excited that the foam head we found at the craft store was the same size as her head. The base for the costume head is strips of plastic needlepoint mesh.
The eyes have been installed and the muzzle is starting to take shape.
The next step was to hot glue upholstery foam onto the mesh to create a face shape. My daughter also created a nose from Sculpey clay.
The ears were created separately and glued on close to the end. This photo is just to show how they look with the head and the addition of foam cheeks and eyebrows.
We wrapped the head in plastic wrap (to keep the tape from sticking) and then duct tape. My daughter is drawing where the stripes will go. When she finished I cut the duct tape apart which gave me a pattern for the fake fur.
Here some of the fur is on the face and the rest of the pieces are laid out around the form. The pile of gray in the background is the duct tape pattern pieces.
The head is almost done, except for a few details and my daughter poses with her model.
Here is the finished head with whiskers (wire) and neck. The jaw is supposed to open, but it doesn't work all that well as she can't open her mouth wide enough to get the jaw open.